


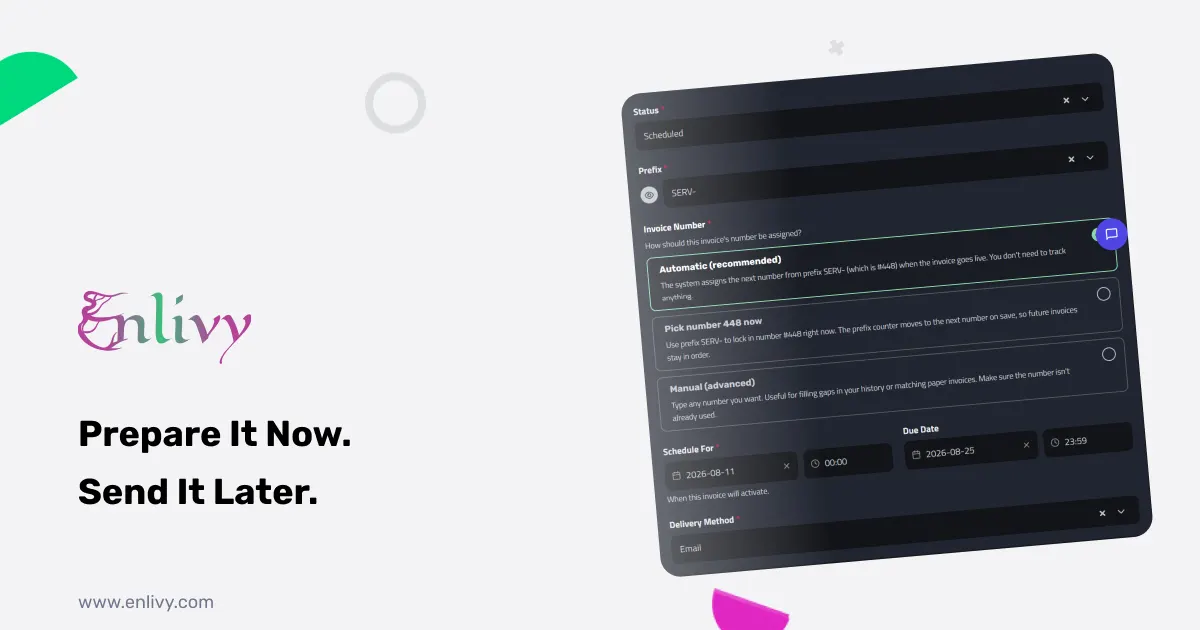
Some invoices should not go out today. A retainer that starts next month, a delivery due on the first, a subscription that renews on a set date: sending those now is wrong, and remembering to send them later is a task that quietly slips. Learning how to schedule an invoice solves both problems. You prepare the invoice once, pick the exact date and time it should go out, and the system issues and sends it for you when that moment arrives.
This article explains when scheduling an invoice makes sense, walks through how to schedule an invoice in Enlivy step by step, and shows a faster way to do it for invoices you send regularly. No prior experience with the platform is needed.
What a scheduled invoice actually is
A scheduled invoice is an invoice you create now but that is issued automatically at a future date and time you choose. Until that moment, it sits in a scheduled state: it has not been given a final invoice number, it has not been sent to the customer, and it does not count as issued. When the scheduled time arrives, the system assigns the next invoice number, issues the invoice, and delivers it through the method you picked, all without you touching it again.
It is worth separating two ideas that often get confused:
- A scheduled invoice is issued once, on a specific future date. Prepare it today, it goes out on the date you set, done.
- A recurring invoice repeats on a cycle, for example the first of every month, until you stop it.
This article is about the first: scheduling a single invoice to be issued in the future. If you bill the same client the same amount every month, that is recurring billing, which is handled separately through billing schedules.
| Scheduled invoice | Recurring invoice | |
|---|---|---|
| Issued | Once, on a set future date | Repeatedly, on a cycle |
| Best for | A one-off future invoice | Ongoing subscriptions or retainers |
| Stops | After it is issued | When you cancel the schedule |
| Set up in | The invoice status (Scheduled) | Billing schedules |
When knowing how to schedule an invoice pays off
Knowing how to schedule an invoice pays off in more situations than people expect:
- Work that starts on a specific date. A contract begins on the 1st, so the first invoice should be dated and issued then, not the day you signed.
- Future deliveries. The goods or service are delivered next week, and the invoice should land with them, not before.
- Subscription or membership billing. A plan renews on a known date and the invoice should go out to match it.
- Preparing in advance. You have time now and you will be busy later, so you get invoices ready today and let them issue themselves on the right day.
In every case, the benefit is the same: you do the work once, while you are thinking about it, and you remove the risk of forgetting to send it at the right moment.
How to schedule an invoice in Enlivy, step by step
Here is the full process. The single setting that turns an ordinary invoice into a scheduled one is the status, which we will get to in step three.
1. Open the invoices dashboard and add an invoice
From the Enlivy dashboard, go to Invoices. This is where every invoice in your organization lives. Click Add Invoice in the top-right corner to start a new one.
2. Choose an internal invoice
Enlivy lets you create two types of invoice. Internal means you create and manage it inside Enlivy. External means you import or register an invoice created by another system. Since you are creating this one in Enlivy, choose Internal, create using Enlivy. If your invoices also need to go to a government platform, the same invoice can be pushed to e-invoicing, which we cover in sending and receiving invoices through eFactura.
3. Set the status to Scheduled
This is the key step. As you fill in the invoice, you will set details like direction (who is issuing it), type (standard, reversal, or proforma), currency, payment method, and bank account. You can also link the invoice to a related contract, project, or order if it belongs to one.
The setting that matters most for scheduling is Status. Enlivy supports several statuses, such as Draft, Pending, and Paid. To have the invoice issued automatically later, set the status to Scheduled.
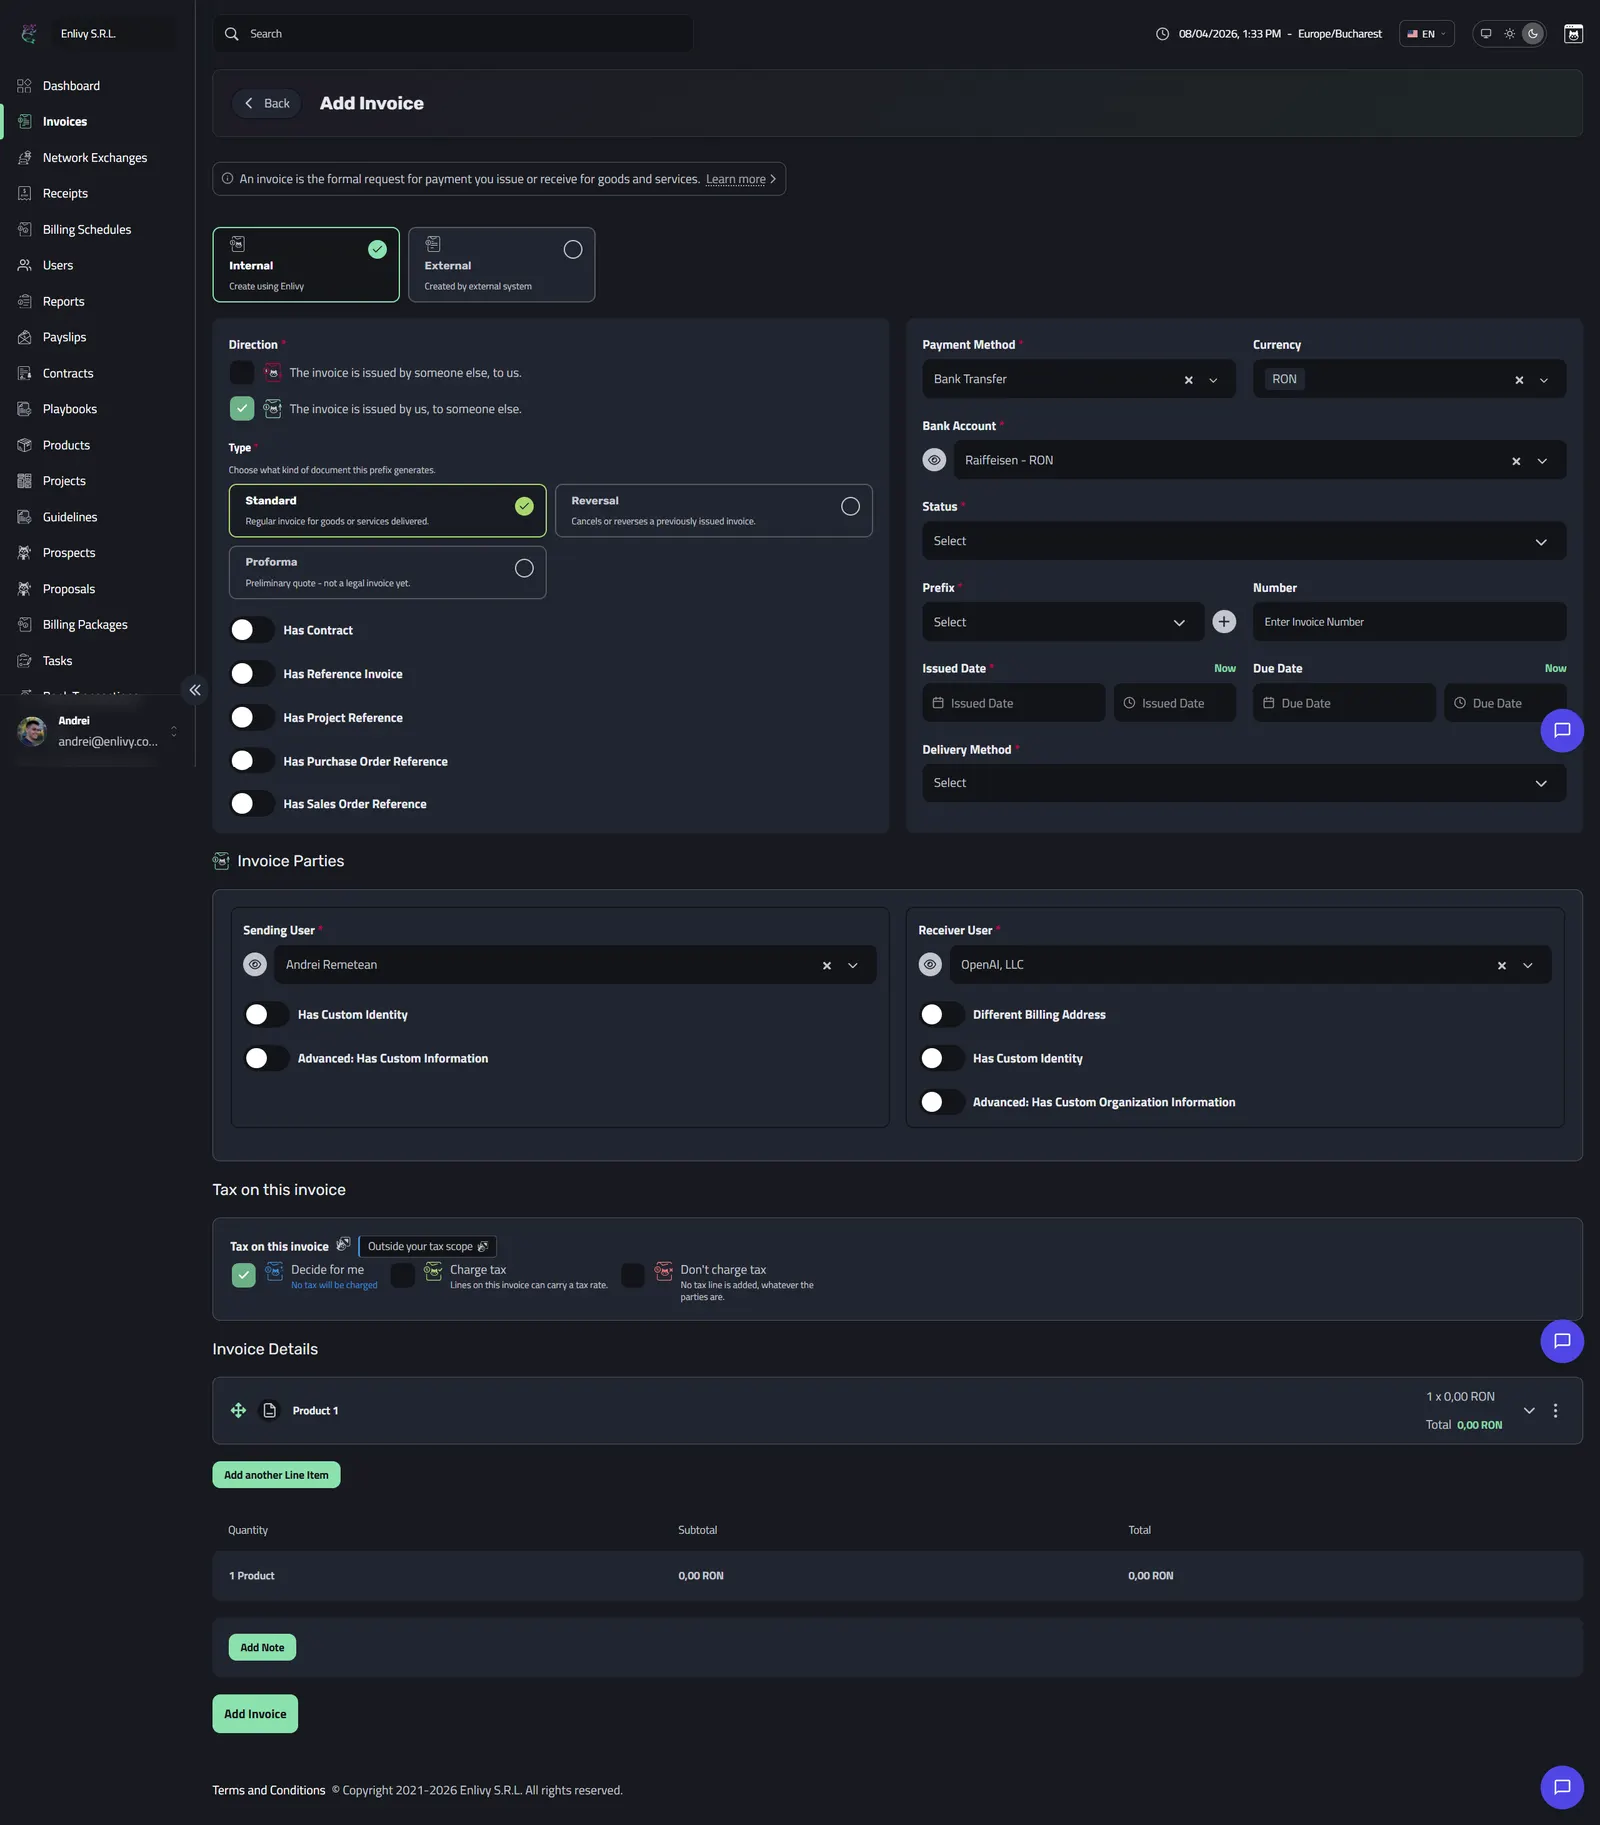 The invoice creation form, where setting the status to Scheduled unlocks the issue date and time.
Linking the invoice to a contract is useful when the billing follows a signed agreement. If that contract needs several signatures first, sending it to multiple signers works the same way, with each party signing on their own, before you schedule the invoice that follows.
4. Choose the issue date and time
Once the status is Scheduled, a new field appears: Scheduled For. Here you pick the exact date and time when Enlivy should issue the invoice. Until that moment, the invoice stays scheduled and is not sent to the customer. You also set a Due Date, which controls when payment is expected after the invoice is issued, and a Delivery Method such as email.
5. Set the invoice number to automatic
Enlivy gives you three ways to assign an invoice number: Automatic, which reserves the next available number when the invoice becomes active; Pick the Next Number, which reserves it immediately; and Manual, for custom numbers. For a scheduled invoice, Automatic is the recommended choice, because it reserves the correct sequential number at the moment the invoice is actually issued, keeping your numbering clean. Why an unbroken sequence matters, and what a gap costs you at audit, is covered in invoice numbering.
6. Add the parties, tax, and lines, then save
Add the sending party (your organization) and the receiver (your client). Set the tax behavior: Decide for me lets Enlivy apply the right tax based on your configuration and the customer, or you can explicitly charge or not charge tax. Then add your invoice lines, the products or services with quantities, prices, and any discounts. When everything is complete, click Add Invoice.
That is it. The invoice is now scheduled.
What happens after you schedule it
Once saved, the invoice appears in your dashboard with a temporary number, for example SERV-(pending), and a status of Scheduled. That temporary number is the signal that it has not been issued yet. This is the payoff of learning how to schedule an invoice: the record exists and is correct, but nothing goes out until the right moment.
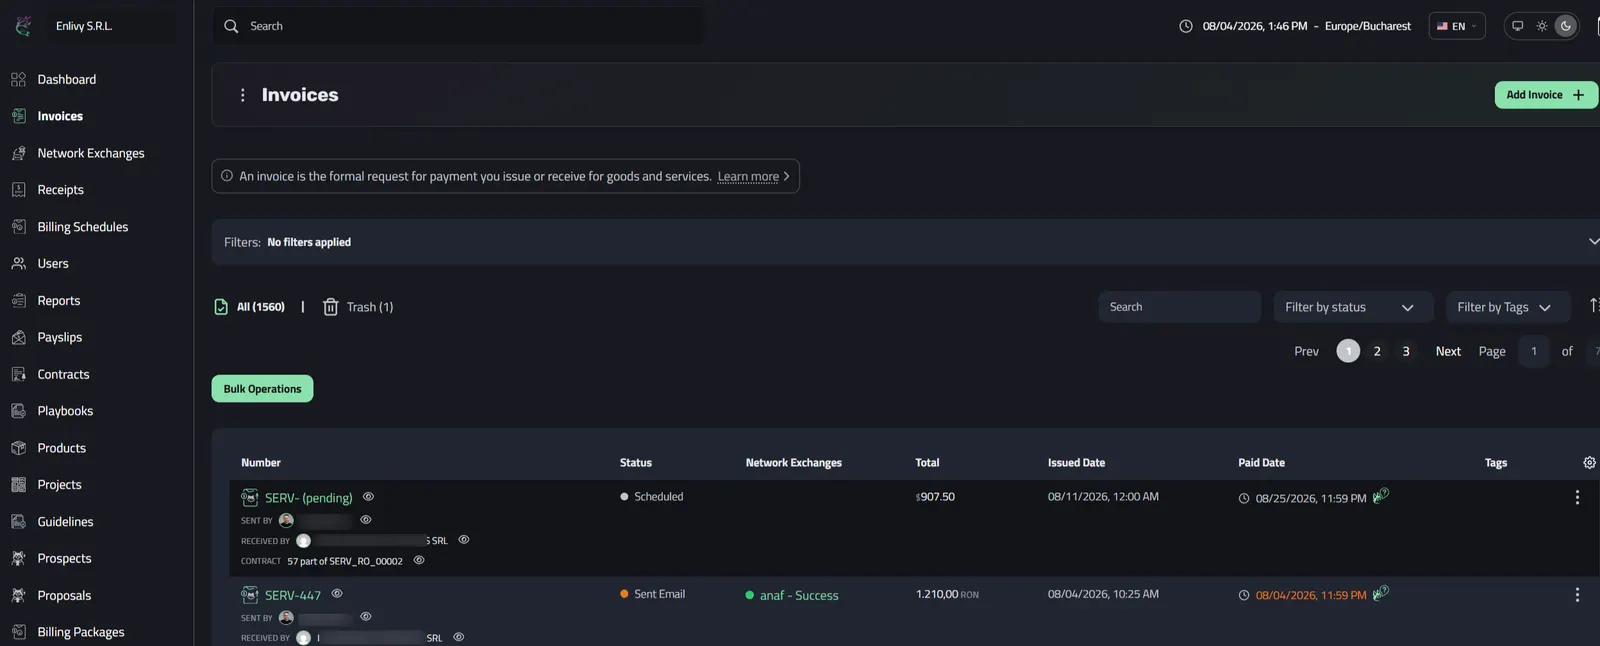 In the dashboard, a scheduled invoice shows a temporary number like SERV-(pending) until it is issued.
When the date and time you set arrives, Enlivy does three things automatically: it assigns the final invoice number, issues the invoice, and sends it using the delivery method you chose. You can open a scheduled invoice at any point before then to review or edit it, download it, reuse it, or email it early if plans change.
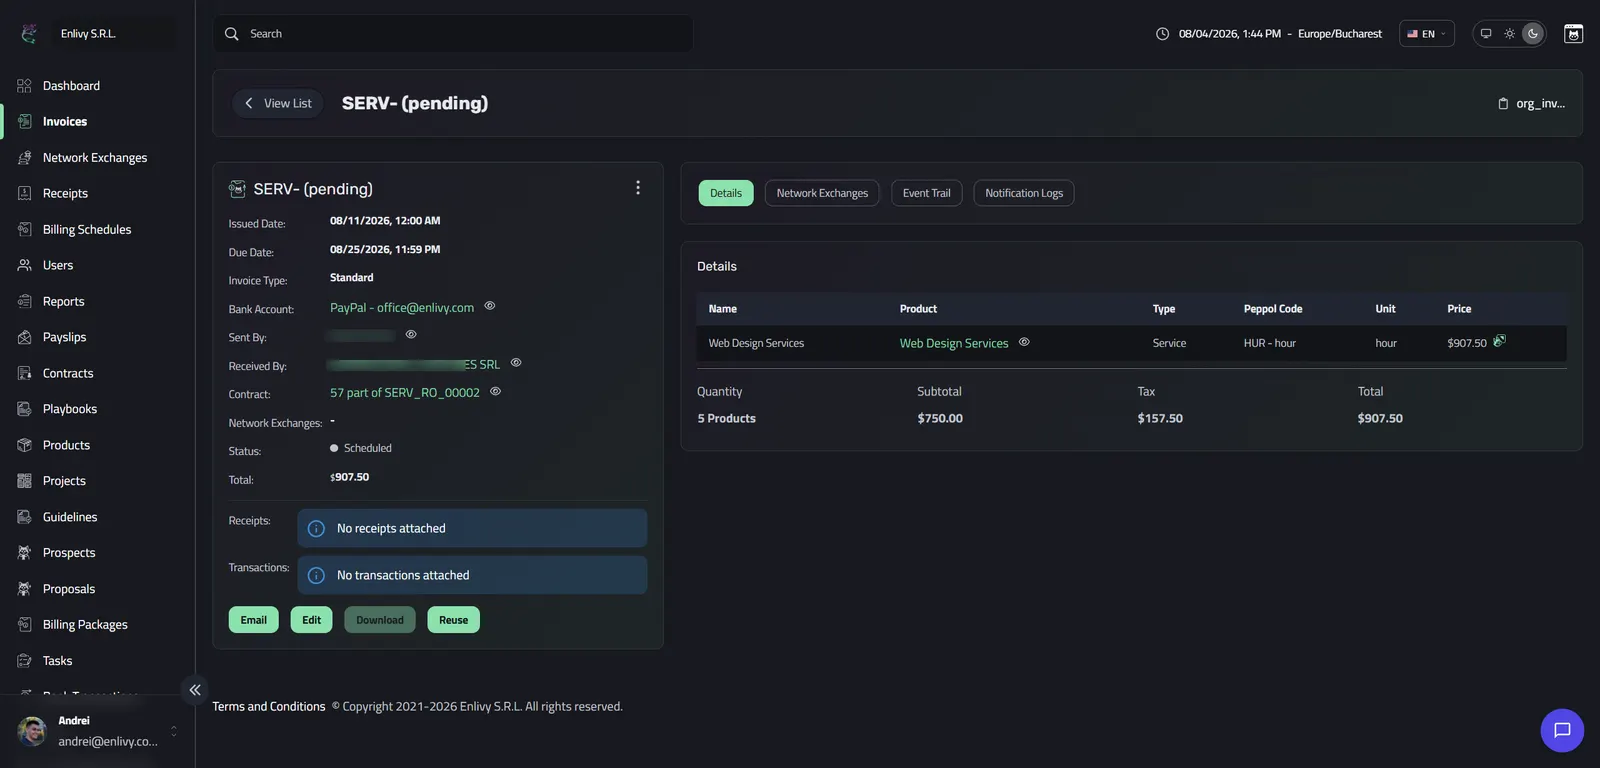 A scheduled invoice keeps a Scheduled status until its issue date arrives.
For the full click-by-click version with screenshots, the scheduling an invoice guide in our documentation walks through every field in detail.
A faster way to schedule invoices you send often
If you regularly send similar invoices, you do not have to build each one from scratch. Open an existing invoice and click Reuse. Enlivy creates a copy that carries over the products, services, prices, tax settings, payment method, and other details.
From there you only change what is different: the recipient, the scheduled issue date and time, the due date, and any prices or quantities that changed. Set the status to Scheduled and click Add Invoice. For many recurring situations, this lets you prepare and schedule a new invoice in under three minutes, with less repetitive work and less room for manual error.
If you find yourself reusing the same invoice every single month for the same client and amount, that is the point where a proper recurring billing schedule is worth setting up instead, so even the reuse step disappears.
Know the moment a scheduled invoice goes out
Because a scheduled invoice issues itself while you are doing something else, it helps to be told when it happens. Enlivy can send a notification to Slack the moment an invoice is issued or paid, so you and your finance team see it in the channel you already watch without checking the dashboard. If your team runs on Slack, connecting it to invoicing closes the loop on automation, and we cover the full setup in Slack invoice notifications.
How to schedule an invoice in practice
A consultant starting a project next month. The contract begins on the 1st. Instead of setting a reminder, she creates the first invoice today, sets it to Scheduled for the 1st at 9am, and moves on. On the 1st, the invoice issues itself and lands in the client’s inbox, dated correctly, while she is in a kickoff call.
An agency preparing month-end in advance. Before going on leave, the finance lead prepares next month’s invoices for eight retainer clients, reuses a base invoice for each, and schedules them all for the 1st. The invoices go out on time while the office is quiet, and nobody had to remember a thing.
A membership business billing on renewal dates. Each member renews on a different date. Rather than tracking them by hand, each renewal invoice is scheduled for its own date when the membership is set up, so billing always matches the renewal.
Start scheduling invoices
Knowing how to schedule an invoice turns billing from something you have to remember into something that happens on its own. You prepare the invoice once, set the status to Scheduled, choose the date and time, and Enlivy issues and sends it for you when the moment comes.
Scheduling is most valuable where the same amount recurs, which in a service business usually means a retainer. How to bill a retainer client covers the setup around the schedule, and recurring billing for service businesses covers when to manage that arrangement yourself and when to let the client manage it.
Invoicing is part of the core platform, so you can try this on a Free Enlivy account with no card required. Create your organization, prepare an invoice, set it to Scheduled, and see it issue itself on the date you chose.
Frequently asked questions
What does it mean to schedule an invoice? Scheduling an invoice means preparing it now and setting a future date and time for it to be issued and sent automatically. Until that time, the invoice stays in a scheduled state, without a final number, and is not delivered to the customer.
How is a scheduled invoice different from a recurring invoice? A scheduled invoice is issued once, on a specific future date. A recurring invoice repeats on a cycle, such as monthly, until you stop it. Scheduling is for a single future invoice, while recurring billing is for ongoing, repeating charges.
How do I schedule an invoice in Enlivy? Create a new internal invoice, fill in the usual details, set the Status to Scheduled, then choose the date and time in the Scheduled For field. Set the invoice number to Automatic, add your lines, and save. Enlivy issues and sends it automatically at the time you set.
Will the invoice get the correct number when it is issued? Yes. If you use the Automatic numbering option, Enlivy reserves the next available number at the moment the invoice is actually issued, so your numbering stays sequential and clean. Before then, it shows a temporary label such as SERV-(pending).
Can I edit or cancel a scheduled invoice before it goes out? Yes. A scheduled invoice can be opened, reviewed, edited, downloaded, reused, or sent early at any point before its scheduled time.
Is there a faster way to schedule invoices I send often? Yes. Open an existing invoice and click Reuse to copy its details, then change only what is different, set the status to Scheduled, and save. This usually takes under three minutes.
Can I get notified when a scheduled invoice is issued? Yes. Enlivy can send a Slack notification when an invoice is issued or paid, so you know a scheduled invoice went out without having to check.
Do I need a paid plan to schedule invoices? Invoicing is part of the core platform and available on the Free account, so you can create and schedule invoices with no card required, within your monthly invoice limit.